Assignments > Homework 3. Photo Carousel
Due on Wed, 05/11 @ 11:59PM. 10 Points.
In this assignment, we will be building a photo carousel from scratch. While there are a million carousel widgets out there, the goal of this assignment is not to simply ‘build a carousel’ but understanding how to marshal CSS and JavaScript to build any interactive interface that you can imagine. I have provided you with starter code and some starter images. You are welcome to use any image that you want, and to make this exercise your own — the more you customize and explore, the more you will learn! Please download the hw03 (starter) files and save them to your cs130 folder. Then, open the entire hw03 folder in VS Code.
Get Oriented with the Files
- Open
index.html. Note that there is an empty unordered list with a class calledcards. This is dynamically populated byjs/index.js - Open
js/index.js. Note that theinitScreen()function iterates through the photos in thephotosarray and renders a card for each photo, using a template. Pay attention to how each “card” is rendered, and specifically that each image is created using a div tag with an image background. - You will only be editing
js/index.jsin today’s lab. All of the instructions below should be completed in this file.
After inspecting the starter code, please complete the following tasks:
1. Implement the Thumbnail Click Event Handler
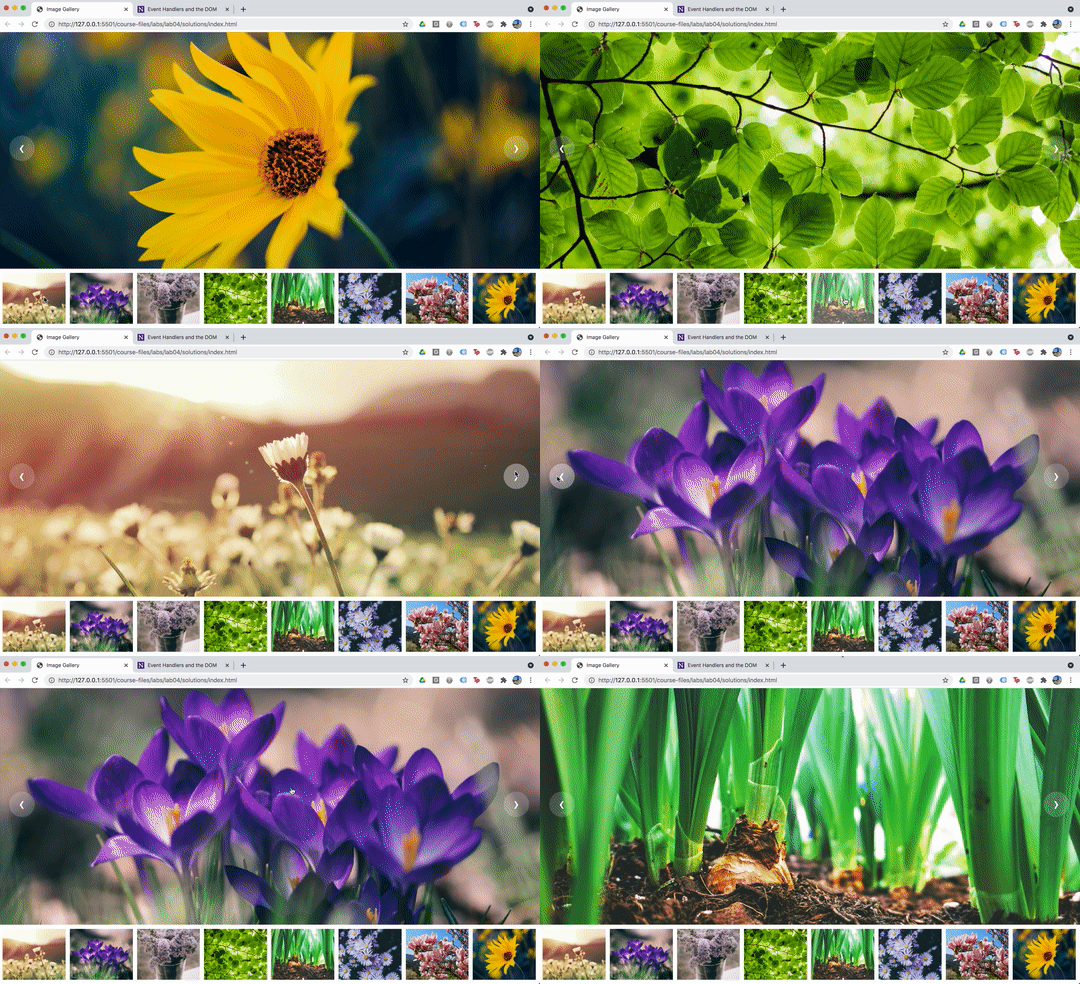
In the js/index.js file, create and attach an event handler (function) to the onclick event of each thumbnail (div element with a class of .image). When the thumbnail is clicked, the event handler should update the background image of the .featured-image element with the image of the thumbnail that was just clicked (see video below).
- If you need a hint to get started, take a look at
hints/index-hint-1.js - Note also that you can only attach event handlers after they have been rendered in the DOM. In other words, you can’t attach the event handlers until
initScreen()has been invoked. Order matters. - To set the background image of an element, use the syntax shown below:
destinationElement.style.backgroundImage = sourceElement.style.backgroundImage;
2. Implement the Next and Previous Click Event Handlers
When you’re done with Step 1, implement the “next” and “previous” click event handlers:
- When the right arrow is clicked, the next image in the thumbnail list should be displayed as the
.featured-image. When the last thumbnail is reached, it should cycle to the first (see video below). - When the left arrow is clicked, the previous image in the thumbnail list should be displayed as the
.featured-image. When the first thumbnail is reached, it should cycle to the last (see video below).
Tips
Consider using a global variable to track the index position of the image that is currently being displayed. You can detect this by accessing the data-index attribute of the .image. See hints/index-hint-2.js if you want a hint.
3. Attach the Featured Image Click Event to the “Next” Event Handler
When the .featured-image is clicked, invoke the same function that is invoked when .next is clicked.
Demo

Rubric
- Thumbnail Click (3 points)
- When thumbnail is clicked, the featured image should update with the corresponding image
- Next Button (3 points)
- Right arrow click shows the next featured image in the list
- When the last thumbnail is reached, it cycles to the first
- Previous Button (3 points)
- Left arrow click shows the previous featured image in the list
- When the beginning of the list is reached, it cycles to the last image
- Featured image click (1 points)
- The featured image click handles behaves like the “next” button.
What to turn in
Before you submit this week, please edit the homepage that you made in Tutorial 3 by adding a link to the index.html file that you made for this homework. Then, paste a link to the following on Canvas (under Homework 3):
- GitHub homepage (website)
- Github repository (code files)